ZITADEL with React
This integration guide demonstrates the recommended way to incorporate ZITADEL into your React application. It explains how to enable user login in your application and how to fetch data from the user info endpoint.
By the end of this guide, your application will have login functionality and will be able to access the current user's profile.
This documentation references our example on GitHub. It also uses the @zitadel/react package with its default configuration.
Set up application and obtain keys
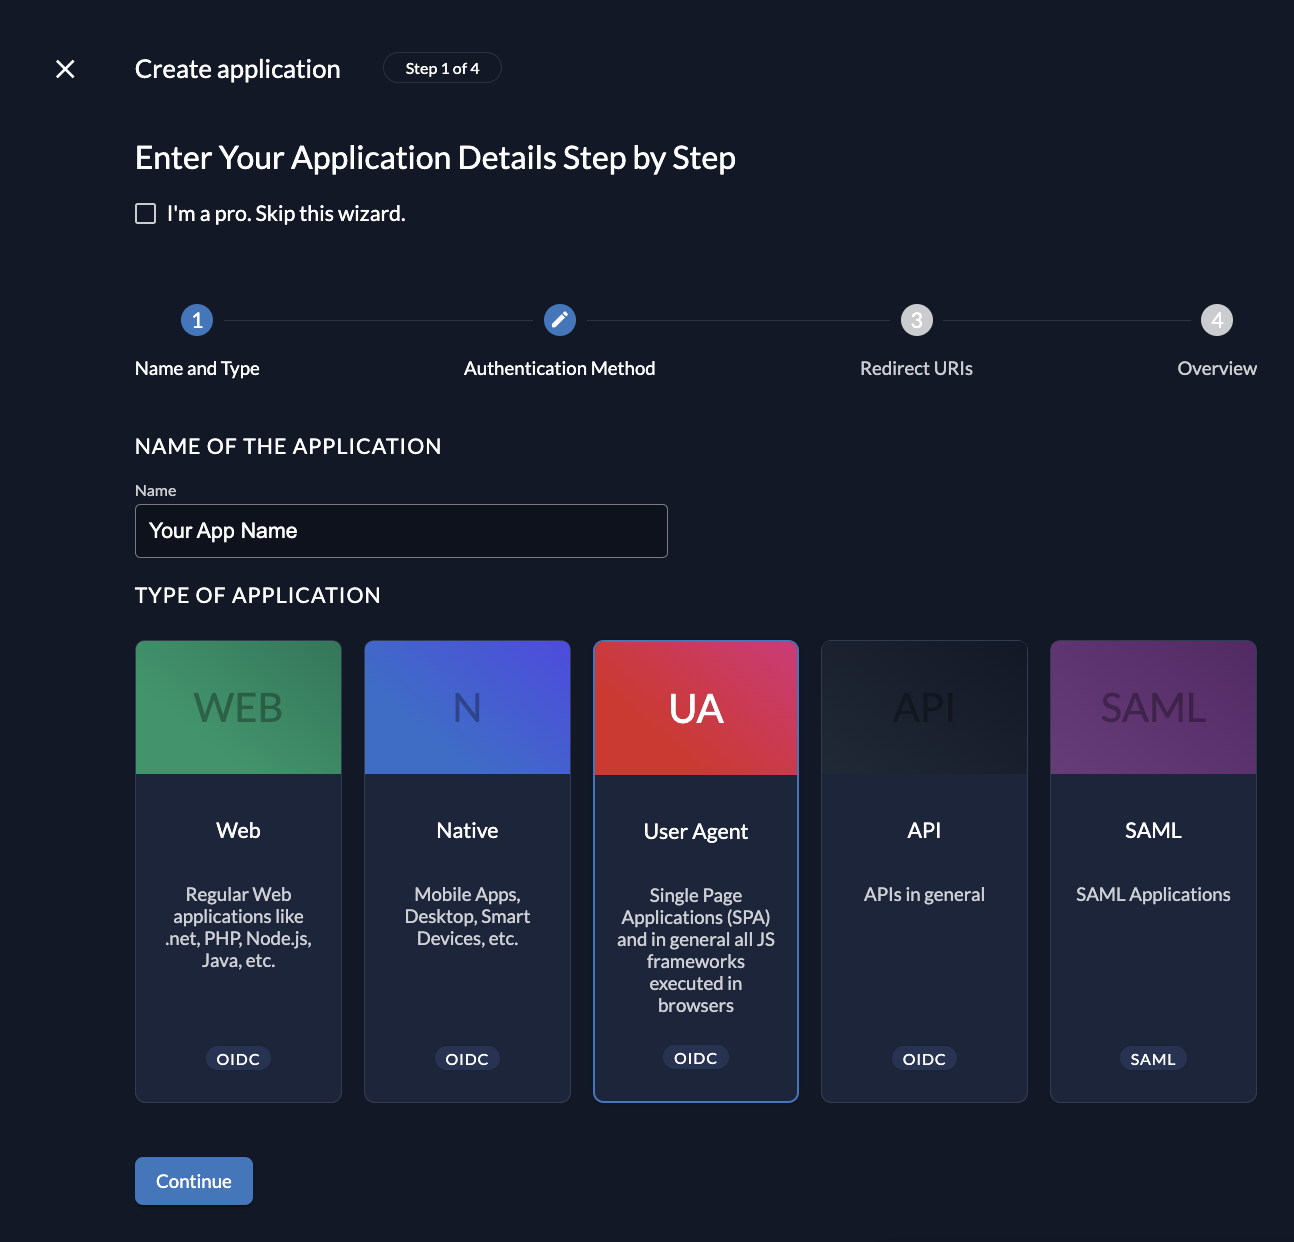
Before we begin developing our application, we need to perform a few configuration steps in the ZITADEL Console. You'll need to provide some information about your app. We recommend creating a new app to start from scratch. Navigate to your project, then add a new application at the top of the page. Select the User Agent application type and continue. We recommend that you use Proof Key for Code Exchange (PKCE) for all single page applications.

Redirect URIs
The redirect URIs field tells ZITADEL where it's allowed to redirect users after authentication. For development, you can set dev mode to true to enable insecure HTTP and redirect to a localhost URI.
The post logout redirect sends your users back to a public route on your application after they have logged out.
If you are following along with the example, set the dev mode switch to true.
Configure a redirect URIs to \http://localhost:3000/callback and a post redirect URI to \http://localhost:3000/.
Continue and create the application.
Copy Client ID
After successful creation of the app, make sure copy the client ID, as you will need it to configure your React client.
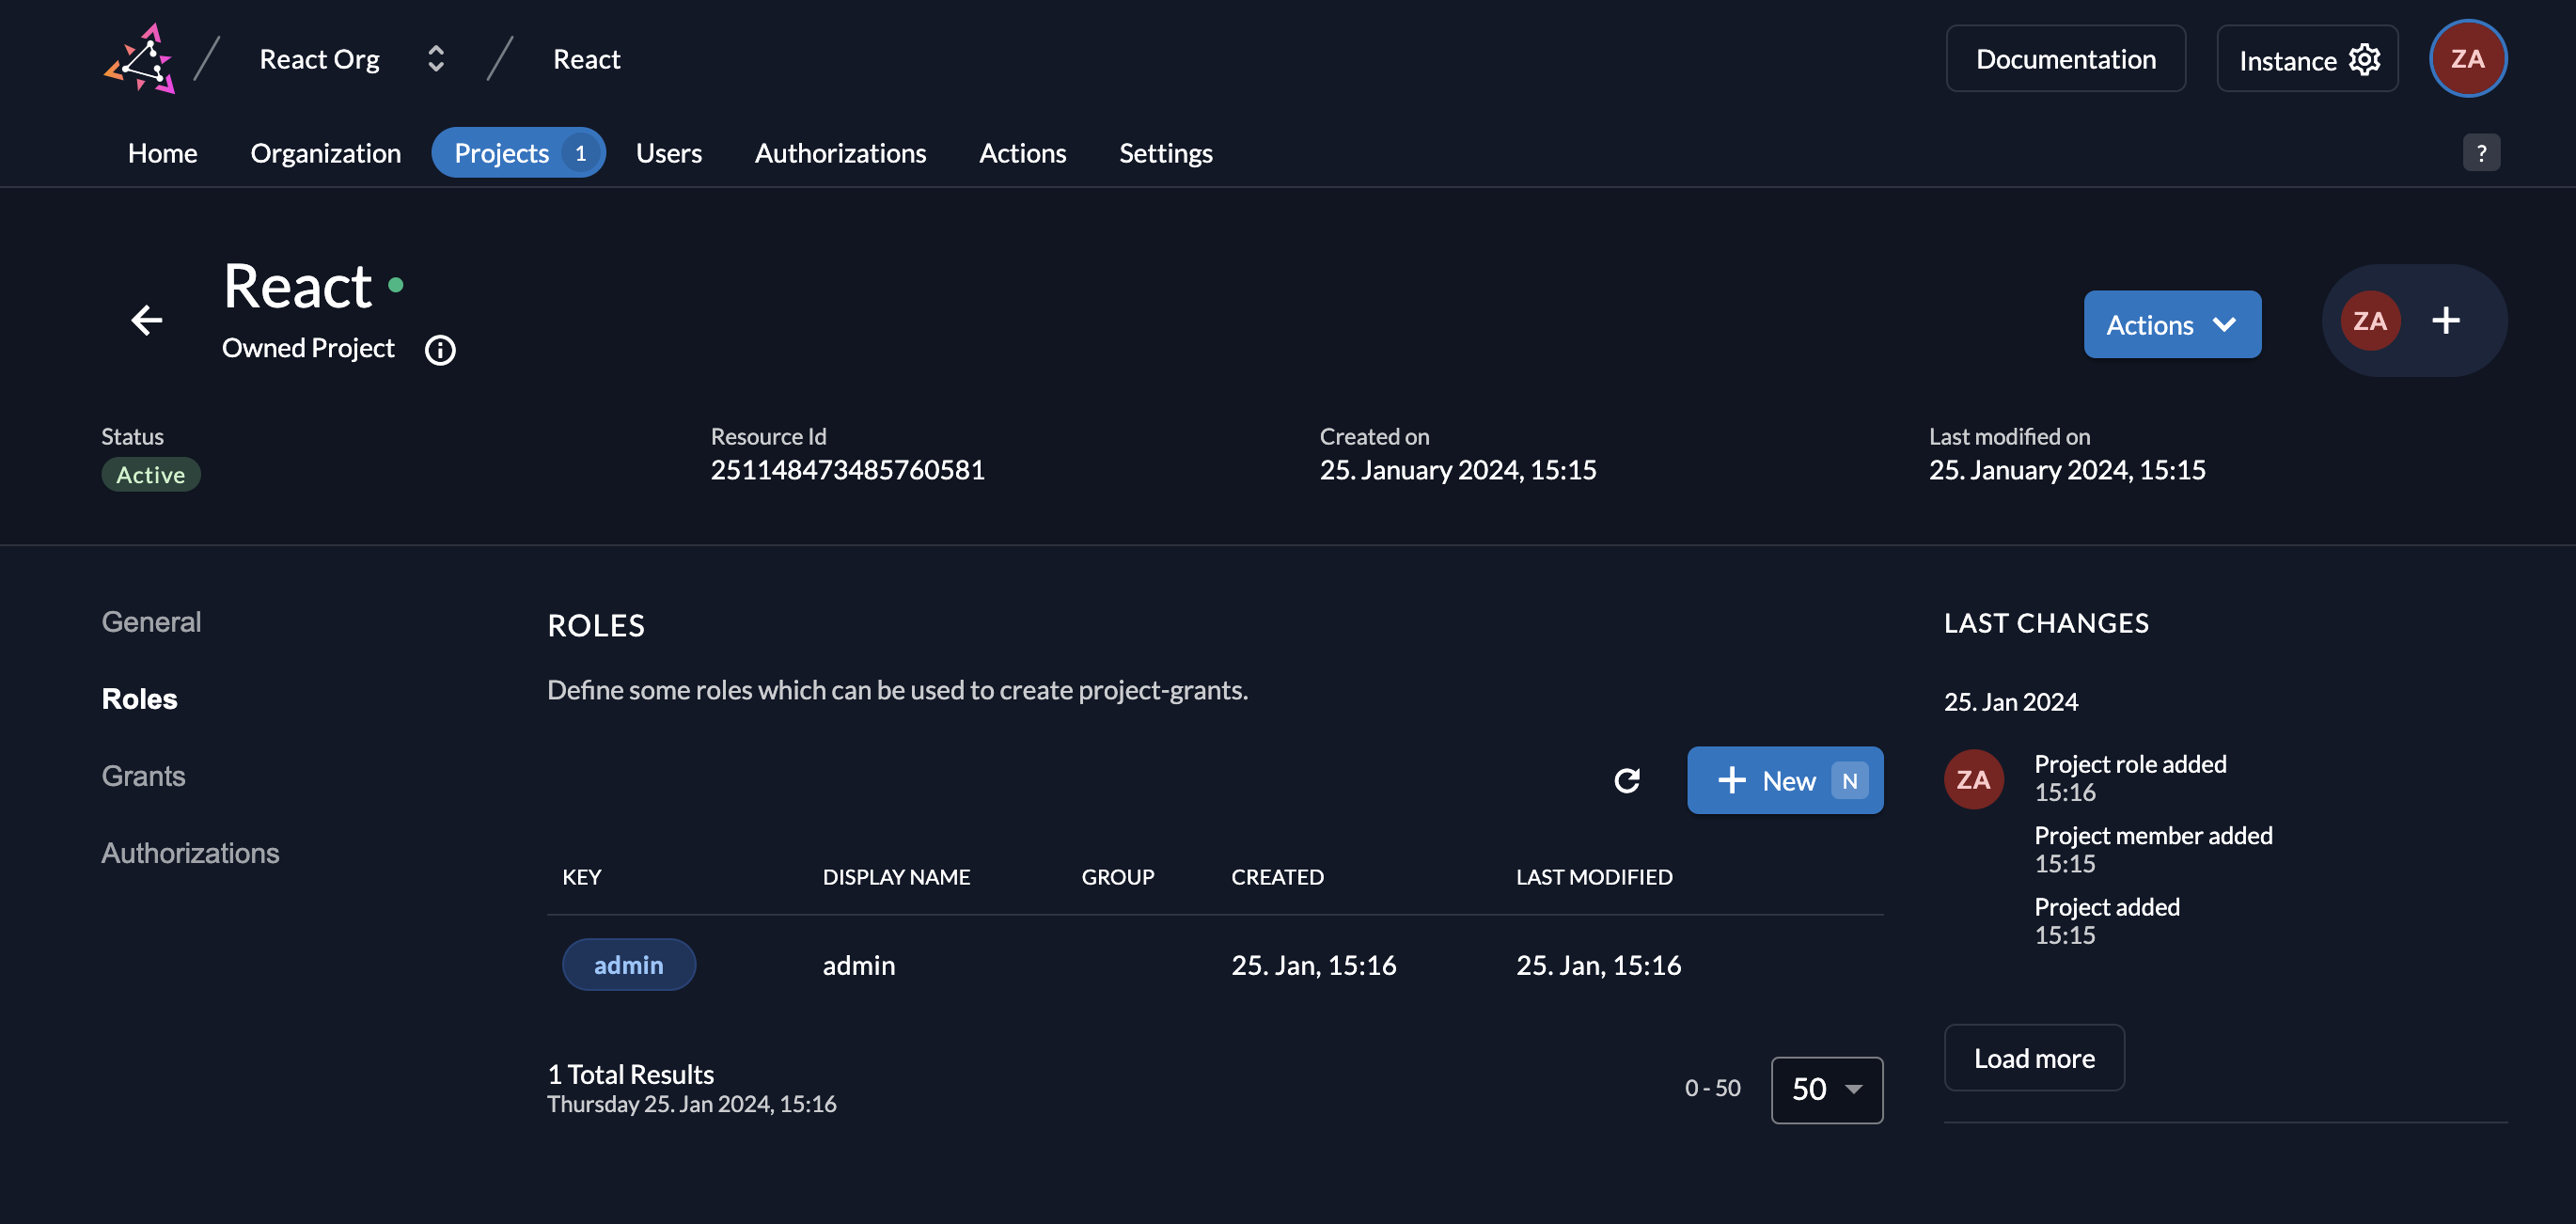
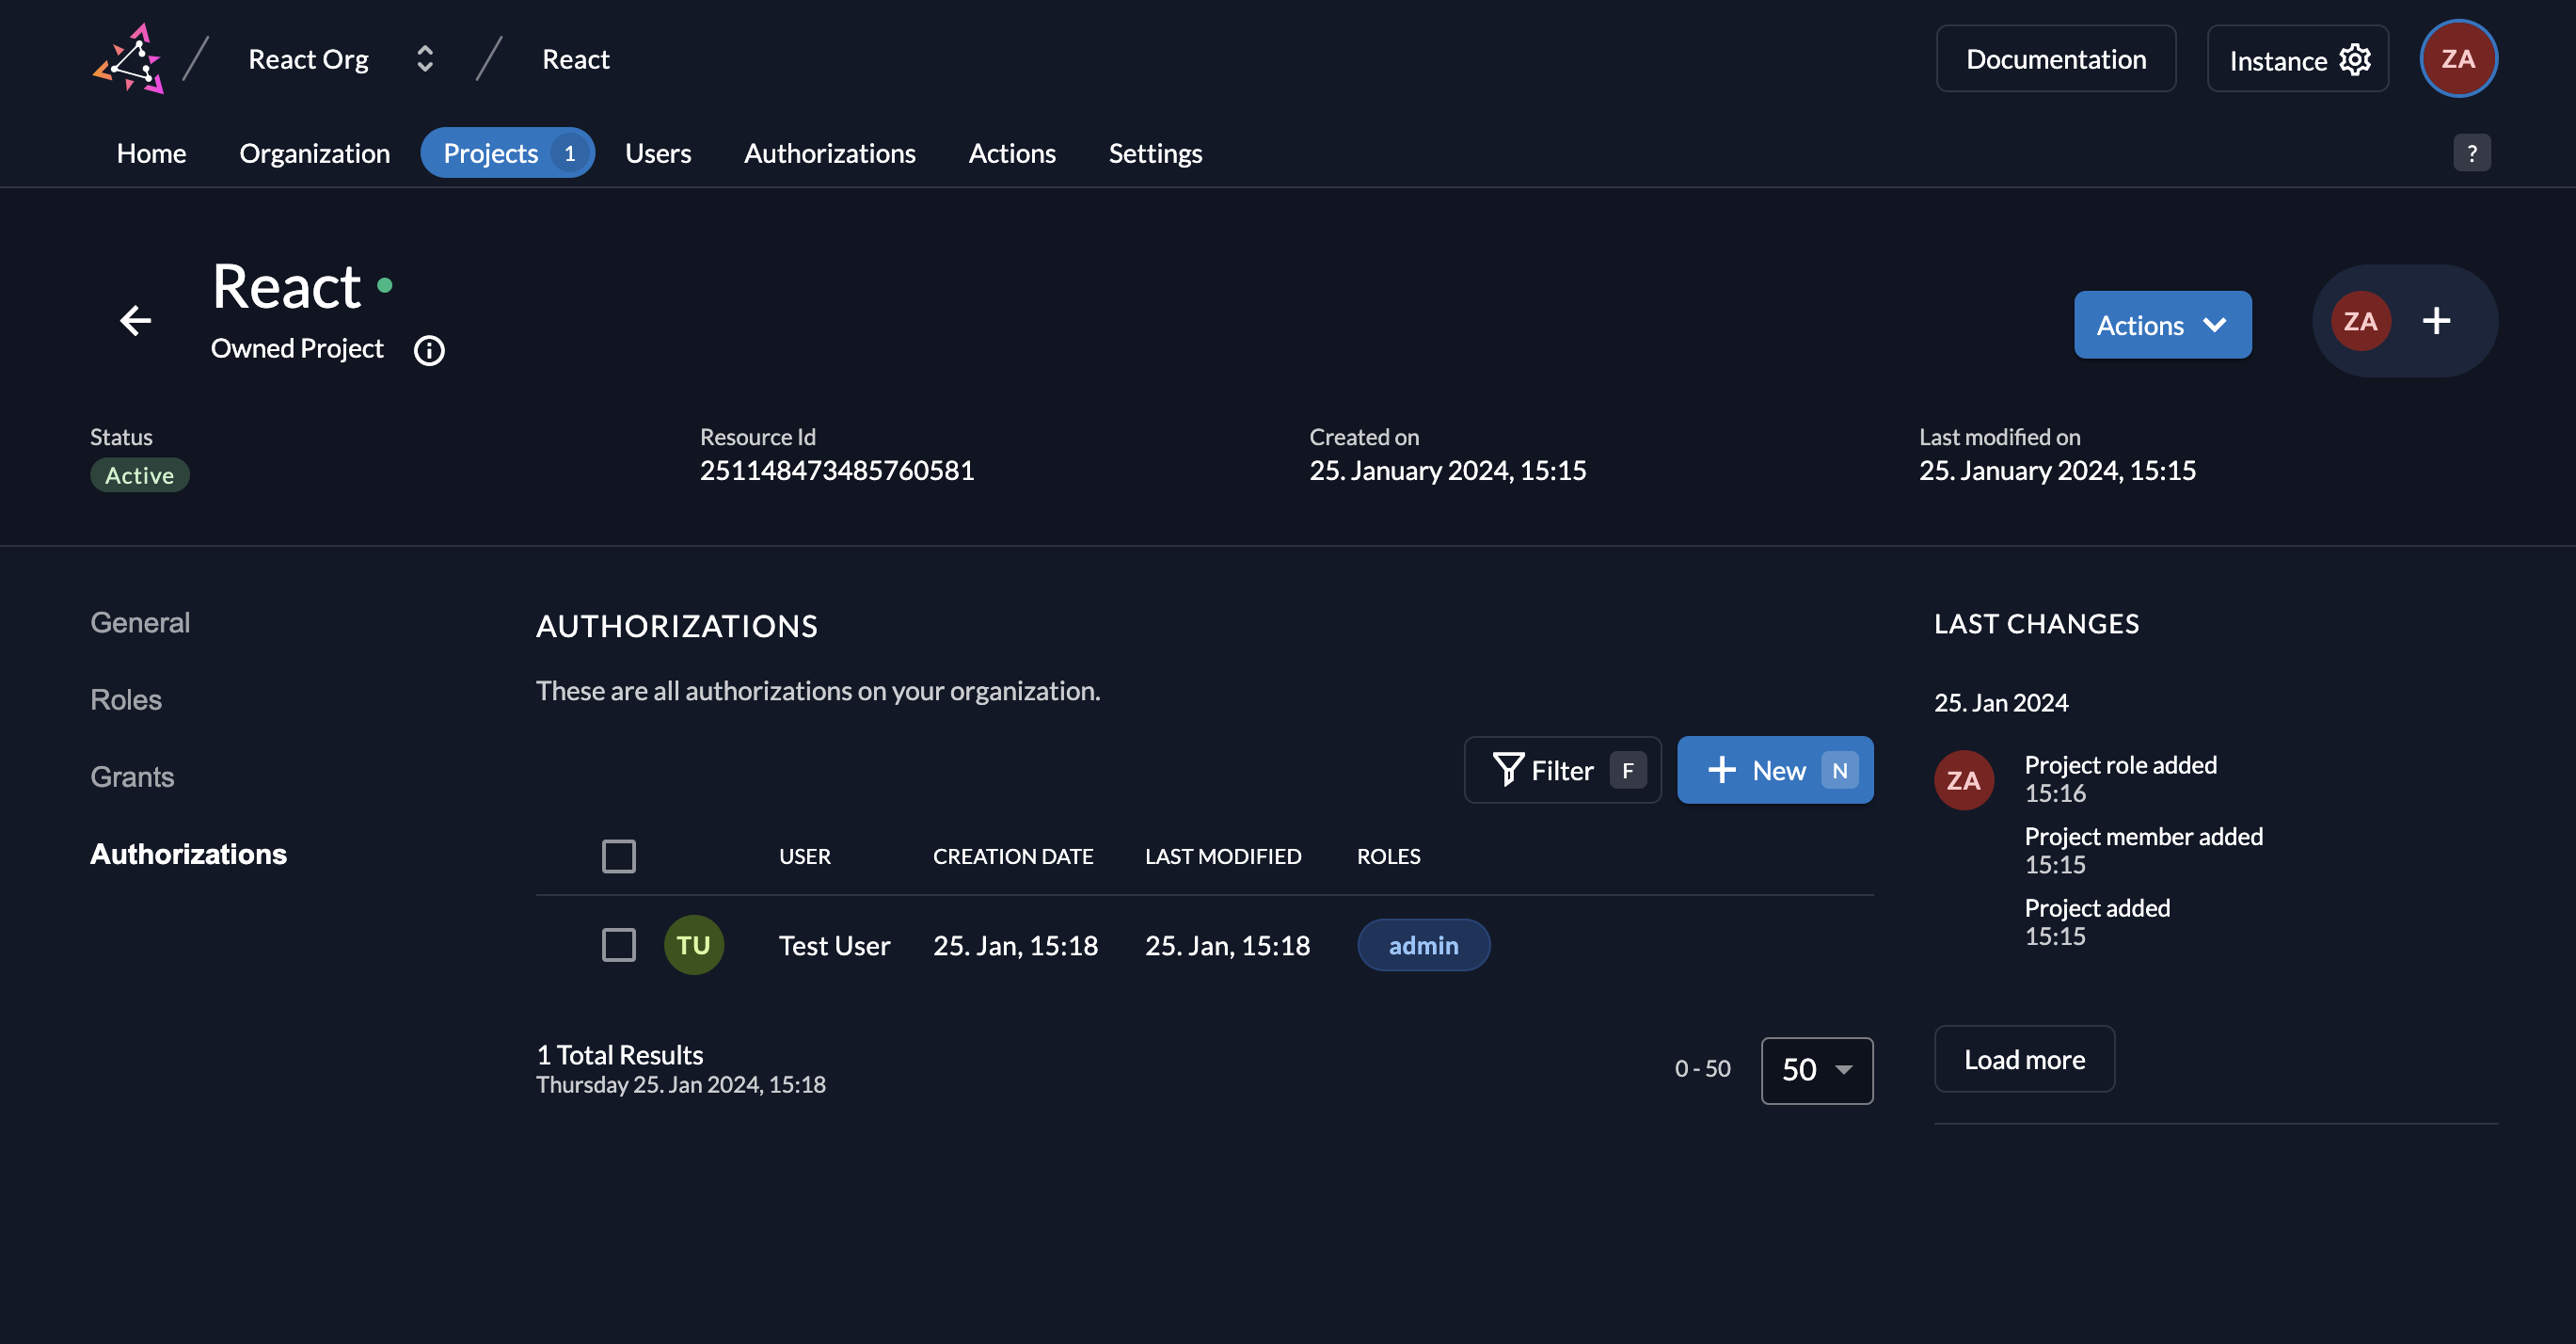
Create a project role "admin" and assign it to your user
Also note the projects resource ID, as you will need it to configure your React client.


If you want to read your users roles from user info endpoint, make sure to enable the checkbox in your project.
React setup
Now that you have configured your web application on the ZITADEL side, you can proceed with the integration of your React client.
Install React dependencies
To conveniently connect with ZITADEL, you can install the @zitadel/react NPM package. Run the following command:
yarn add @zitadel/react
Create and configure the auth service
The @zitadel/react package provides a createZitadelAuth() function which sets some defaults and initializes the underlying oidc-client-ts UserManager class.
You can overwrite all the defaults with the aguments you pass to createZitadelAuth().
Export the object returned from createZitadelAuth()
Initialize user manager
loading...
Add two new components to your application
First, add the component which prompts the user to login.
loading...
Then create the component for the page where the users will be redirected. It loads the user info endpoint once the code flow completes and prints all the information.
loading...
You can now read a user's role to show protected areas of the application.
Run
Finally, you can start your application by running the following:
yarn start
Completion
Congratulations! You have successfully integrated your React application with ZITADEL!
If you get stuck, consider checking out the ZITADEL React example application.
This application includes all the functionalities mentioned in this quickstart.
You can start by cloning the repository and changing the arguments to createZitadelAuth to fit your requirements.
If you face issues, contact us or raise an issue on GitHub.

What's next?
Now that you have enabled authentication, you are ready to add authorization to your application by using ZITADEL APIs. To do this, refer to the API docs or check out the ZITADEL Console code on GitHub which uses gRPC to access data.
For more information on how to create a React application, you can refer to Create React App. If you want to learn more about the libraries wrapped by @zitadel/react, read the docs for oidc-client-ts.